
As a homeowner, you are most likely aware of just how important maintenance is. From the exterior to the interior, there are certain areas of the house that require periodic upkeep. Some methods may be simpler than others. When it comes to your floors, however, a little more legwork is required.
This is especially true for those who have wooden floors of some kind inside their property. Although not as difficult to clean up as rugs or carpets, there is a methodical approach to keep in mind. Sanding and staining will be important, but other techniques will be crucial too.
Here are the six best ways on how to sand and stain wood floors:
1. Initial Cleaning
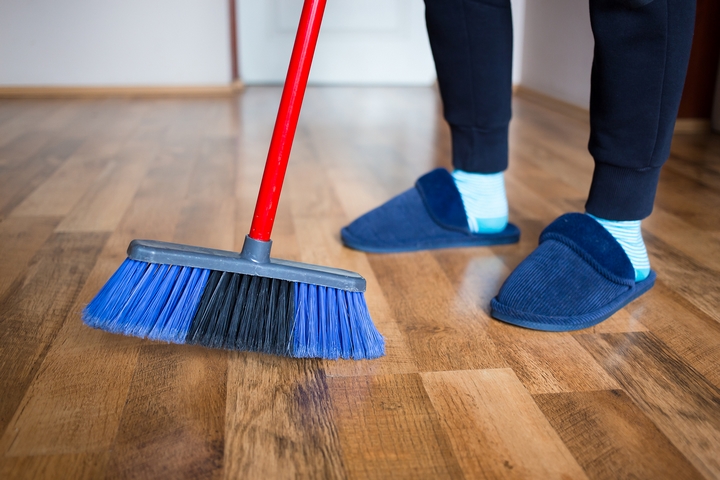
When you sand and stain wood floors, make sure you do the cleaning first. Before you handle the meticulous details of sanding and staining, the surfaces must be primed first. So, grab a mop, or a similar tool, and give your entire floor a clean sweep with some water. Don’t go overboard with the amount of water used; you’ll want to be delicate with the quantity.
Your water-based solution should also have some vinegar added in as well. For the most part, all that is needed is a small percentage inside. Ensure that you get all parts of the wooden floor, and move furniture aside if need be. The doors and windows in the room that you are in must also be closed to keep dust out!
2. Moulding Removal
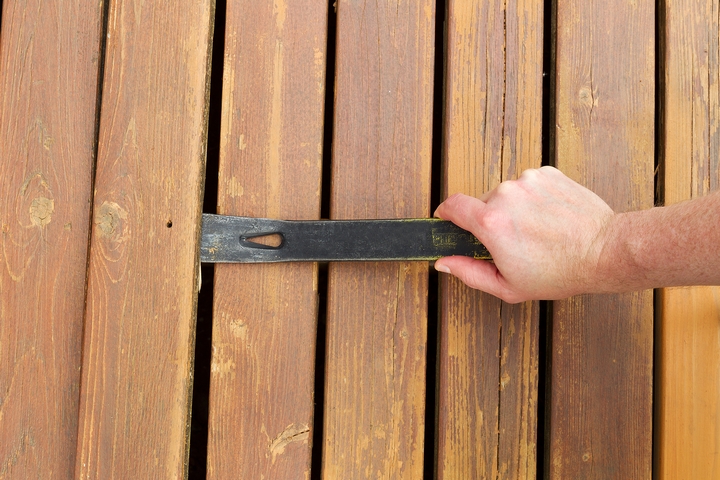
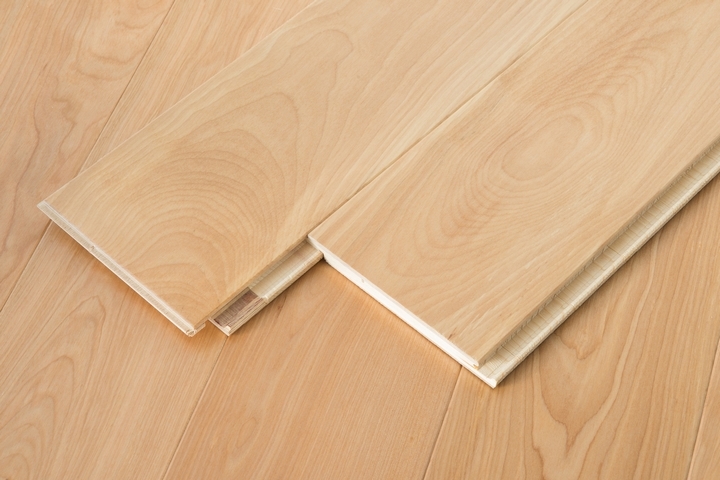
Most engineered hardwood flooring that have been installed will come with some moulding outlining the perimeter. In order to effectively sand and stain your floors, you’ll have to remove this moulding entirely. To do this, you will need a pry bar, or a piece of wood that is strong enough to be put to use.
Once you have obtained the tool, apply some force to the tool when prying the moulding out. You’ll want to also label the piece of moulding accordingly, so that you know just exactly where it goes. Put the moulding in a box for safekeeping, before moving on to the next step.
3. Sanding
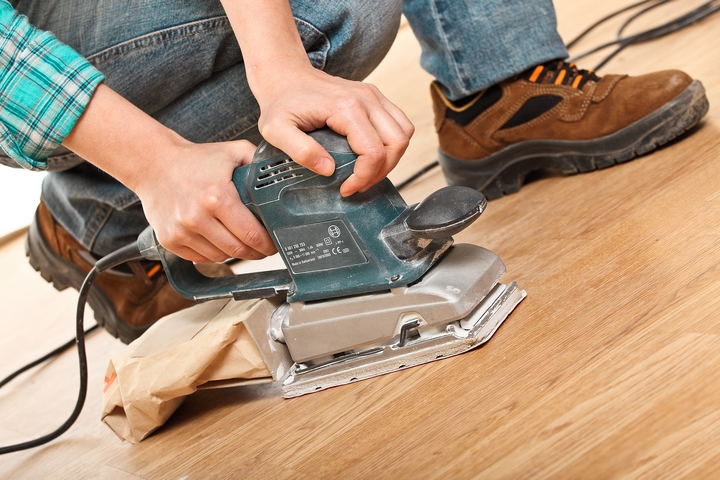
The majority of the process will now involve the actual sanding of your hardwood floors. To begin with, you will have to do a rough sanding of the wood. The best tool to do this is the drum sander, which makes the action almost effortless. Put on your mask and some safety googles, and turn the machine on.
The drum sander should be able to move over all parts of your wooden floor. To be as effective as possible, move the drum sander back-and-forth in a methodical fashion. Move the sander over any scratches you see, until their appearance starts to mitigate. If there is any remaining debris on the floor, use a vacuum to get rid of these lingering traces of dust.
4. Further Cleaning
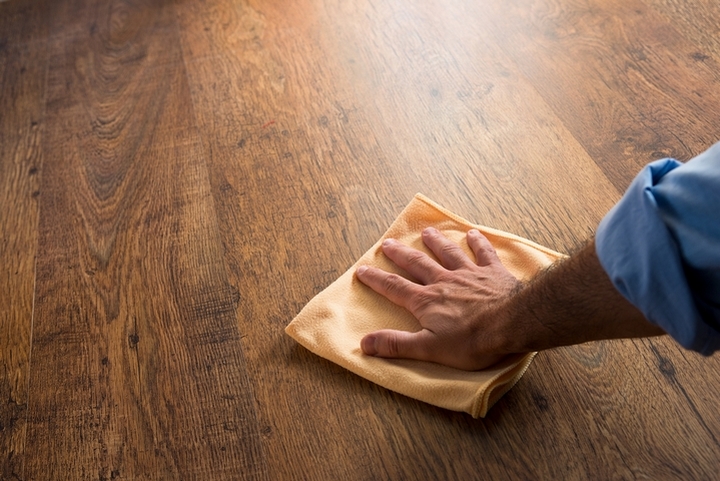
One of the most common scenarios of using a drum sander during the process is the issue of dust. Even after you have cleaned up the targeted area, you will still need to ensure it is ready for staining. As a result, after you have finished sanding, let everything settle inside the area for fifteen minutes.
Then, vacuum the entire wooden floor and sweep up any remaining traces of debris. Once you have determined that the entire floor is clean, get yourself a microfiber cloth. A bit of manual cleaning will have to be done here; use the cloth to dry-tack the applicable areas. The result should be a wooden floor primed for staining.
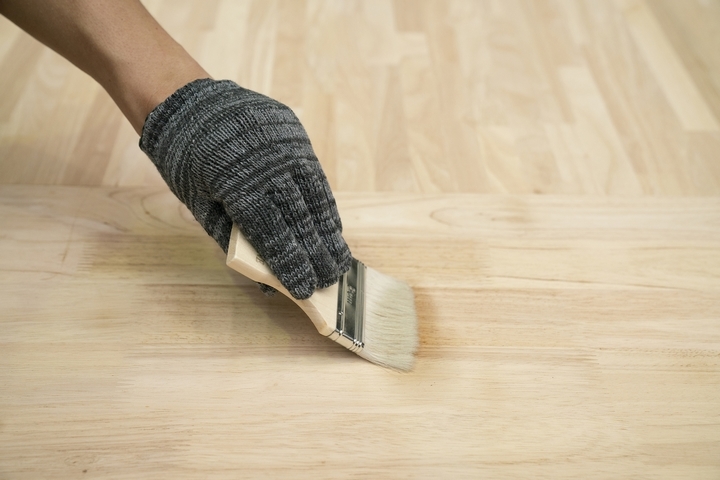
5. Staining The Wood
The final phases of the process involve, of course, the staining of your wooden floor. Before you begin, pick an interior wood stain colour that you are satisfied with. A form applicator pad will be key here, as you will apply the stain to this item. Once applied, run the pad over the targeted area of the wood.
In some cases, excess staining will occur as a result of the procedure. Use a clean cloth to remove this excess stain, before finishing the application. Take a look at the stain manufacturer’s instructions next. The drying time will generally be listed here.
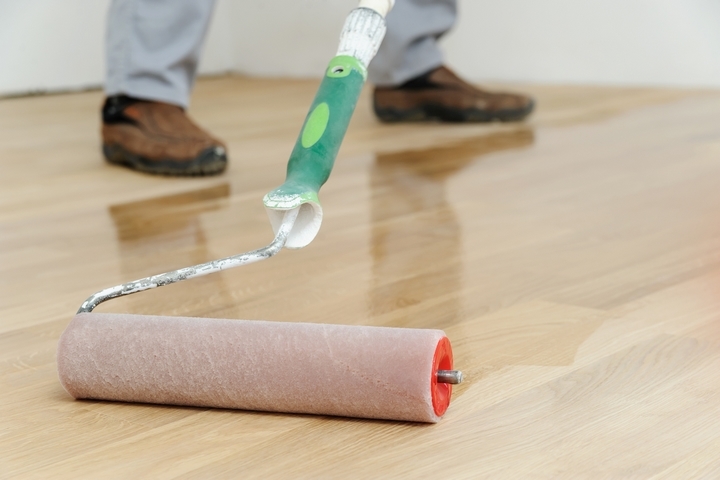
6. Wood Finish
Once the stain has effectively dried, your last step involves applying some finish. There are two types of finish that you can use here; water or oil-based. Each of these types come with their own advantages and drawbacks. Depending on your time and needs, one will generally be better than the other!
The refinish process of sanding and staining your wooden floor is not at all complicated. The main bulk of the work largely comes down to the cleaning before, during, and after the process. That is why it is important to always have the correct materials on hand. By being as prepared as possible, you can give your floors new life in record timing!